Processing sketches on RaspberryPI with JRubyArt
This post has been superseded by release of JRubyArt-1.5.0
The new version of JRubyArt should create ~/.jruby_art/config.yml for you so that is one less thing to worry about, further the library_loader has been modified to support loading native binaries on the RaspberryPI. see
Installing raspbian image from processing.organization
Ok it is assumed you have a raspberrypi (preferably 3B+ model) and a spare 16G micro-sd card (or usb drive at push). You should download the processing raspbian image here and write the image to your spare SD card, see pi.processing website. If you want to use a usbstick / usbdrive you need to tell your raspberrypi to do a usb boot (this is one time and and irreversible step so not for noobs), see here, there are plenty of tools for writing images to usb drives (eg mintstick on mint linux).
Connecting WiFi
It is assumed that you will use wifi (instead of ethernet cable) to connect to the internet, so once you have booted the processing raspbian image use raspi-config to set your wifi region and enter your wifi connection credentials. Once you have connected it is worth updating raspi-config, although that will mean re-entering your wifi connections, but this time you will be able to use the gui. Clicking on the wifi connection widget you will get a choice of connections choose yours and re-enter credentials. You can set a unique network hostname from the RaspberryPI configuration gui.
Installing gems
It is normal to install gems to a local folder, but you need to define the GEM_HOME to do so, what I usually do is to modify ~/.profile to modify the local bash environment see my ~/.profile:-
# ~/.profile: executed by the command interpreter for login shells.
# This file is not read by bash(1), if ~/.bash_profile or ~/.bash_login
# exists.
# see /usr/share/doc/bash/examples/startup-files for examples.
# the files are located in the bash-doc package.

# the default umask is set in /etc/profile; for setting the umask
# for ssh logins, install and configure the libpam-umask package.
#umask 022

# if running bash
if [ -n "$BASH_VERSION" ]; then
    # include .bashrc if it exists
    if [ -f "$HOME/.bashrc" ]; then
	. "$HOME/.bashrc"
    fi
fi

# set PATH so it includes user's private bin if it exists
if [ -d "$HOME/bin" ] ; then
    PATH="$HOME/bin:$PATH"
fi

export GEM_HOME="/home/pi/.gem/ruby/2.3.0"
export GEM_PATH="/home/pi/.gem/ruby/2.3.0"
export PATH="${PATH}:${GEM_PATH}/bin"
Note this profile is not immediately available to your shell but you could do source ~/.profile to make it so or re-boot.
NB: be very careful here an invalid .profile may prevent you from logging into raspberrypi.
Installing JRubyArt
Since we are on a very specific system we can all use the same configuration for JRubyArt, and this can be created before you download the JRubyArt gem (if you have created a new user eg tux, replace pi with tux). You need to mkdir ~/.jruby_art and create config.yml there:-
---
PROCESSING_ROOT: "/usr/local/lib/3.4"
JRUBY: false
sketchbook_path: "/home/pi/sketchbook"
template: bare
MAX_WATCH: 32
sketch_title: JRubyArt Static Sketch
width: 600
height: 600
What this does it set up the processing root, so we can access the processing jars, and sketchbook path so we can access any installed processing libraries. By setting JRUBY: false we are telling JRubyArt to use JRuby-Complete rather than an installed jruby.
gem install jruby_art # installs gems
k9 --install # installs JRubyComplete and downloads samples to k9_samples
Now you are good to go cd k9_samples and rake to start demo of sketches (NB: some won’t work on raspberrypi) closing one sketch starts another.
Creating sketches
It makes sense to create a new folder to create sketches
cd my_folder
k9 --create my_sketch 300 300 # creates my_sketch.rb
Use geany (or better vim needs an install) to edit the sketch
k9 --run my_sketch.rb
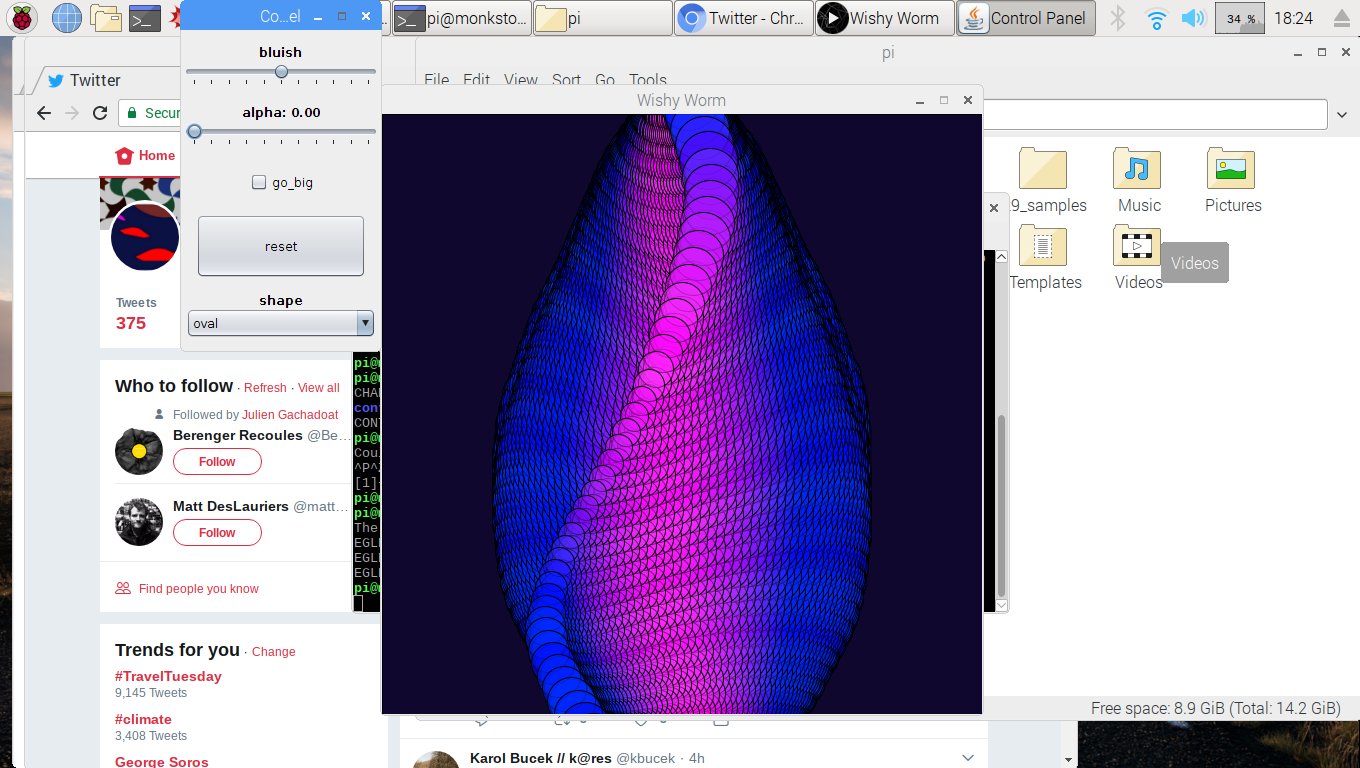
JWishy running on pi
